Tablets are replacing paper. In everyday life, in professional fields and - with proper adjustments - in visual amateur astronomy, too. This article describes how a tablet can be used in the field with minimal effect to the dark adapted eye.


This article focusses on the use of Apple iPads. What is described applies in similar manner to other brands of tablets.
All images in this article of iPads in the dark were shot in RAW format with the white balance set to 5000K. The images were cropped and exported without further adjustments.
How to not use a tablet
First, allow me to describe how to not use a tablet in the field.
A tablet should not be used without a physical red filter applied to the screen. Brightness settings and electronic filters just won't do. As the images below demonstrate, a physically unfiltered tablet screen emits a lot of blue light, no matter what settings are used. That light is evident to the eye, too, especially when the tablet is viewed from an angle. It needs no argumentation that this light has a strong detrimental effect on the dark adapted eye. For yourself and for others sharing the observing field.
The images below are for demonstration purposes. Displaying a CSOG guide and the application SkySafari on an iPad, with electronic red "filters" applied but without a physical red filter attached to the screen. The first 2 images are 2.5 second exposures at f/4, ISO100. The third image is a 2.5 second exposure at f/11, ISO800.
")
")
")
As the images demonstrate, the iPad's screen emits a lot of blue light. The electronic red filters are really not that red. iPadOS / iOS' Night Shift setting does not make any difference to this.
A red filter
The images below, 2.5 second exposures at f/11, ISO800 with exception of the third image at f/4, ISO100, demonstrate the effect of a physical, double layered red filter. The fourth image compares an unfiltered screen to a single and a double red filter.


Bottom right: single layer red filter
Top: double layered red filter
As the images above demonstrate, a physical red filter effectively cuts out the blue light that a tablet's screen always emits. As demonstrated, the effect of the double layered filter is better than that of a single layer filter.
iPad Settings
In addition to a physical red filter, there are several settings that will improve the display of an iPad for use by visual astronomers. For starters, there is iPadOS's dark mode and the standard brightness settings.


Further adjustment can be made in Accessibility settings menu.
The menu Display & Text Size allows reduction of the screen's white point. Tweaking this setting has a strong effect. A setting of approximately 75% seems to be the sweet spot.


The images below are both 2 second exposures at f/4, ISO100. For both images the iPad’s brightness setting is identical, but the image on the right has a white point reduction setting of 100% applied.


In addition to the white point setting, the Accessibility menu allows color filters to be applied. I find that setting the screen to grayscale is effective, while maintaining sufficient contrast. Selecting Color Tint with the slider all the way to the right selects a red filter, but that filter washes out quite a lot of detail and some screen colors vanish completely.


My preferred setting is Dark Mode with White Point reduction and 75% Grayscale selected.
These settings can be applied quickly by means of iPadOS's Accessibility shortcuts. On an iPad with a home button, triple-click the home button for the shortcuts to popup in a menu. On an iPad without a home button, triple click the top button. Alternatively, use the Control Center.


iPad Settings - earlier versions of iOS
Earlier versions of iOS, such as iOS 10 on the iPad 4 that I have been using for the past few years, have similar settings. The screen can be set to greyscale and the white point can be adjusted, but it can only be toggled on or off.


Making a red screen filter

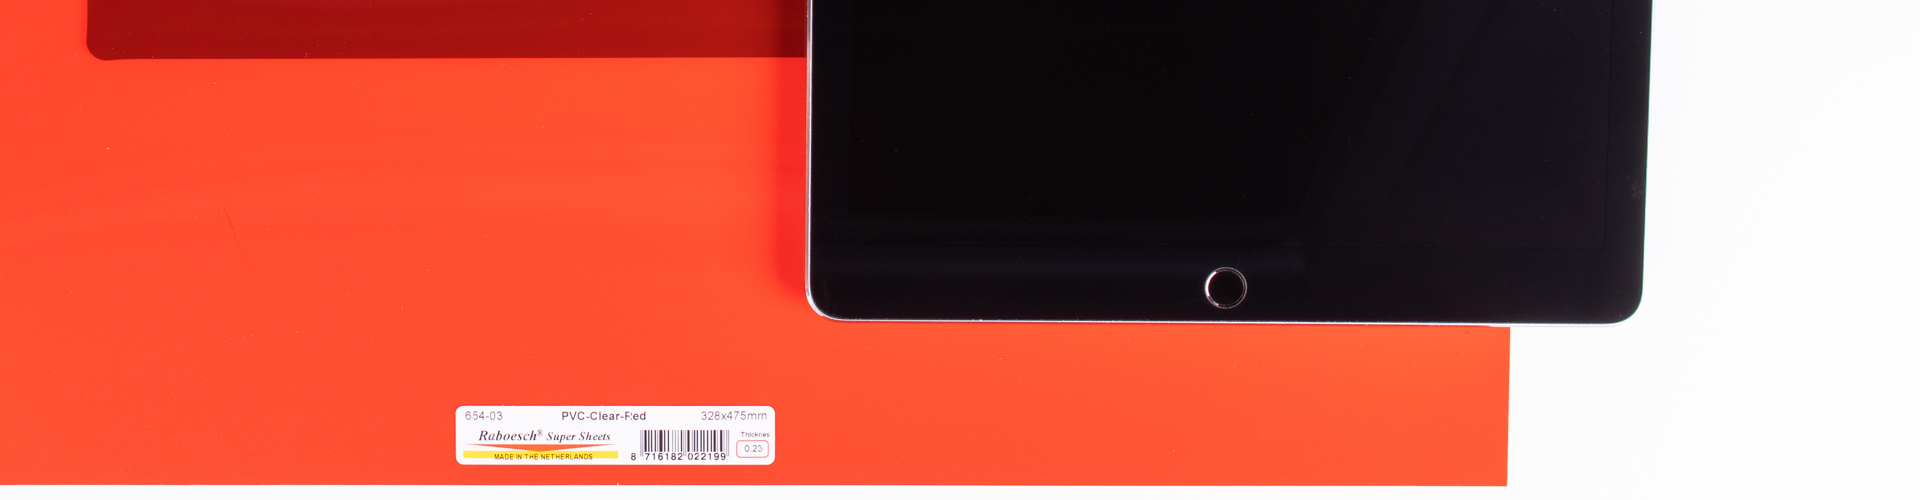
For an effective tablet screen filter, I use red transparent foil. I experimented with various shades and ended up with a pure red color. Similar sheets are available in art & craft stores around the world.
The images below show how I made a double layered red screen for a 2017 12.9" iPad Pro. Few tools are required: a box cutter, cutting surface, marker pen, ruler, tape and scissors. For this demonstration I set the tablet background color to pure white.


Two layers of foil are to be joined. First, mark a piece of foil that is large enough to cover the screen but leaves ample room for the tablet's bezel.


Next, mark a second sheet that is slightly larger that the first one and covers most of the tablet's bezel.


The two marked sheets.


Cut out both sheets.


Center the smaller sheet on the larger sheet and add paperweights.


Tape the sheets together, taking care to not let the tape overlap too much of the smaller sheet. I prefer tape to the use of glue, which may run between the sheets and/or become brittle in cold conditions (that and it undoubtedly making a mess).


Flip the sheet over and trim the excess tape.


If the tablet has a home button, cut out a small rectangle.
The sheet can now be attached to the tablet. I choose to attach it with the taped side facing the tablet. Attach the screen to the tablet using tape that attaches to the bezel and around the sides of the tablet. Cut the tape so that the tablet's buttons remain uncovered.


With the screen attached, the tablet's touch screen will continue to function normally. A cover can be used to protect the screen from scratches when not in use.


The cable poking out from under my iPad 4 is the connector for a Kendrick 2020 box heater. It goes below the velcro I use to attach the tablet to my telescope's mount. The heater ensures the tablet will continue to function in freezing temperatures.


In the field
The images below approximate the view of a screen of a double layered, filtered, dimmed iPad in the field. The images are 5 second exposures at f/4.0, ISO100. Depending on the content displayed on the screen, further dimming or brightening of the screen can be considered. In combination with the white point reduction setting, the content displayed on the iPad’s screen can be dimmed far enough to render it almost invisible.


For comparison, an image of the laminated version of Sky Atlas 2000.0, illuminated by a red LED flashlight at minimum brightness setting, held at arm's length at an angle of approximately 45°. Again a 5 second exposure at f/4, ISO100.

Filter effect
The images below are of the same double layered, filtered, dimmed iPad (identical settings), but this time 25 second exposures at f/4.0, ISO100. These images demonstrate the effect of the double layered red filter. The deep red color is evident.
Note that the brightness of the iPad screen in these images is much higher than any setting that would be used in the field.


For comparison, an image of the laminated version of Sky Atlas 2000.0, illuminated by a red LED flashlight at minimum brightness setting, at an angle of approximately 45°. Again a 25 second exposure at f/4, ISO100.

But look how bright the screen is on those images and look at all that light on your face!
What the human eye perceives is by now means comparable to the amount of light a camera sensor gathers during a 15 second, f/2.8, ISO6400 exposure.


Apps

Having tried all of the iOS PDF readers I could find, I found the application PDF Pro 4 to beat all other apps hands down.
This PDF reader fills documents to the edge of the screen, has a dark mode, allows pdf's to be organised in folders and overall is very easy to use. In the application I set the Page Transition to Continuous, the Scroll Direction to Vertical and the Page Fitting to Fill.


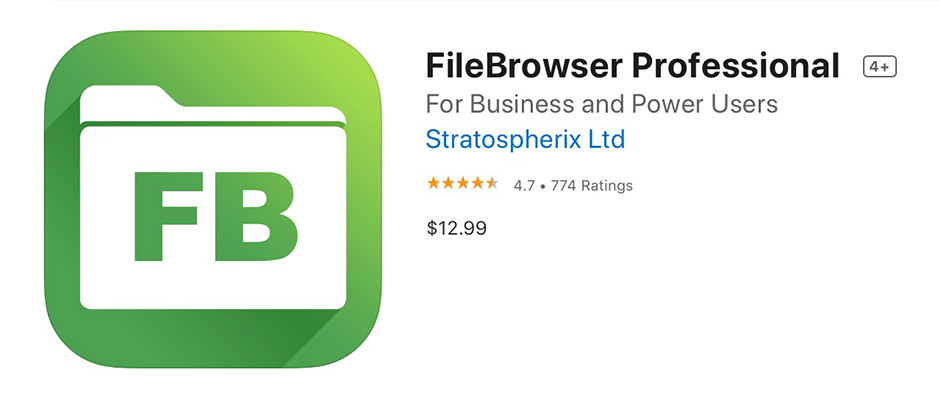
To keep my files organised on an iPad, I use FileBrowser. The FileBrowser Professional version allows for network connections that will connect to anything.
A nice feature of the app is that files can be copied straight from external storage (computers, cloud storage, NAS drives, etc.) to the folder of the PDF Pro 4 app. Files can be automatically synchronised, too.


Field use
Velcro is an astronomer's best friend. It allows for easy attachment of a tablet and other accessories to a telescope or mount.
When not using the tablet, I switch if off or, when I am sure I am not interfering with other observers, I rotate it so that I can not see the screen whenever I don't need to look at it. At other times, I use my non-observing eye to see a CSOG guide's DSS image on the tablet while simultaneously peering through the eyepiece with my observing eye.
It helps to disable any passcode on the tablet when using it for an observing run, as it saves an extra step before content is displayed. Ideally, a dedicated astronomy tablet is used, with a permanently attached screen filter.
The bottom line is: use the tablet effectively, maintain your dark adaptation and do what you can to not interfere with other astronomers.
Room for improvement
There is always room for improvement. One characteristic of tablets, one that I hope developers will look into, is the white splash screen that tends to popup when opening files and/or switching between applications. When this happens, close your eyes or turn your head to not let the inherently brighter screen affect your dark adaptation. Also, please anticipate this happening when observing in a group. Shield the tablet or rotate it towards the ground when you know a brighter screen will momentarily be displayed.
Further tweaks
Jailbreaking an iPad: no, it is not illegal and it is really not that scary. That being said, only jailbreak an iPad when you know what you are doing and/or are not using the iPad for anything other than astronomy.
Jailbreaking allows for for further tweaks. Such as Activator to allow switching the iPad off by keeping the home button depressed, to disable the lock screen altogether, or Brightvol to use the volume buttons to control the screen's brightness.
iPad astronomy
In the end, a tablet for visual astronomy is just a screen and a few apps. With a red screen filter and some tweaks, tablets can be used without affecting the dark adapted eye.
I first used an iPad at the eyepiece back in the year 2013. I have not looked back and paper has become a thing of the past. Using CSOG guides on a tablet, as described in this article, my dark adaptation remains optimal and I can observe the faintest objects in reach of my equipment.
